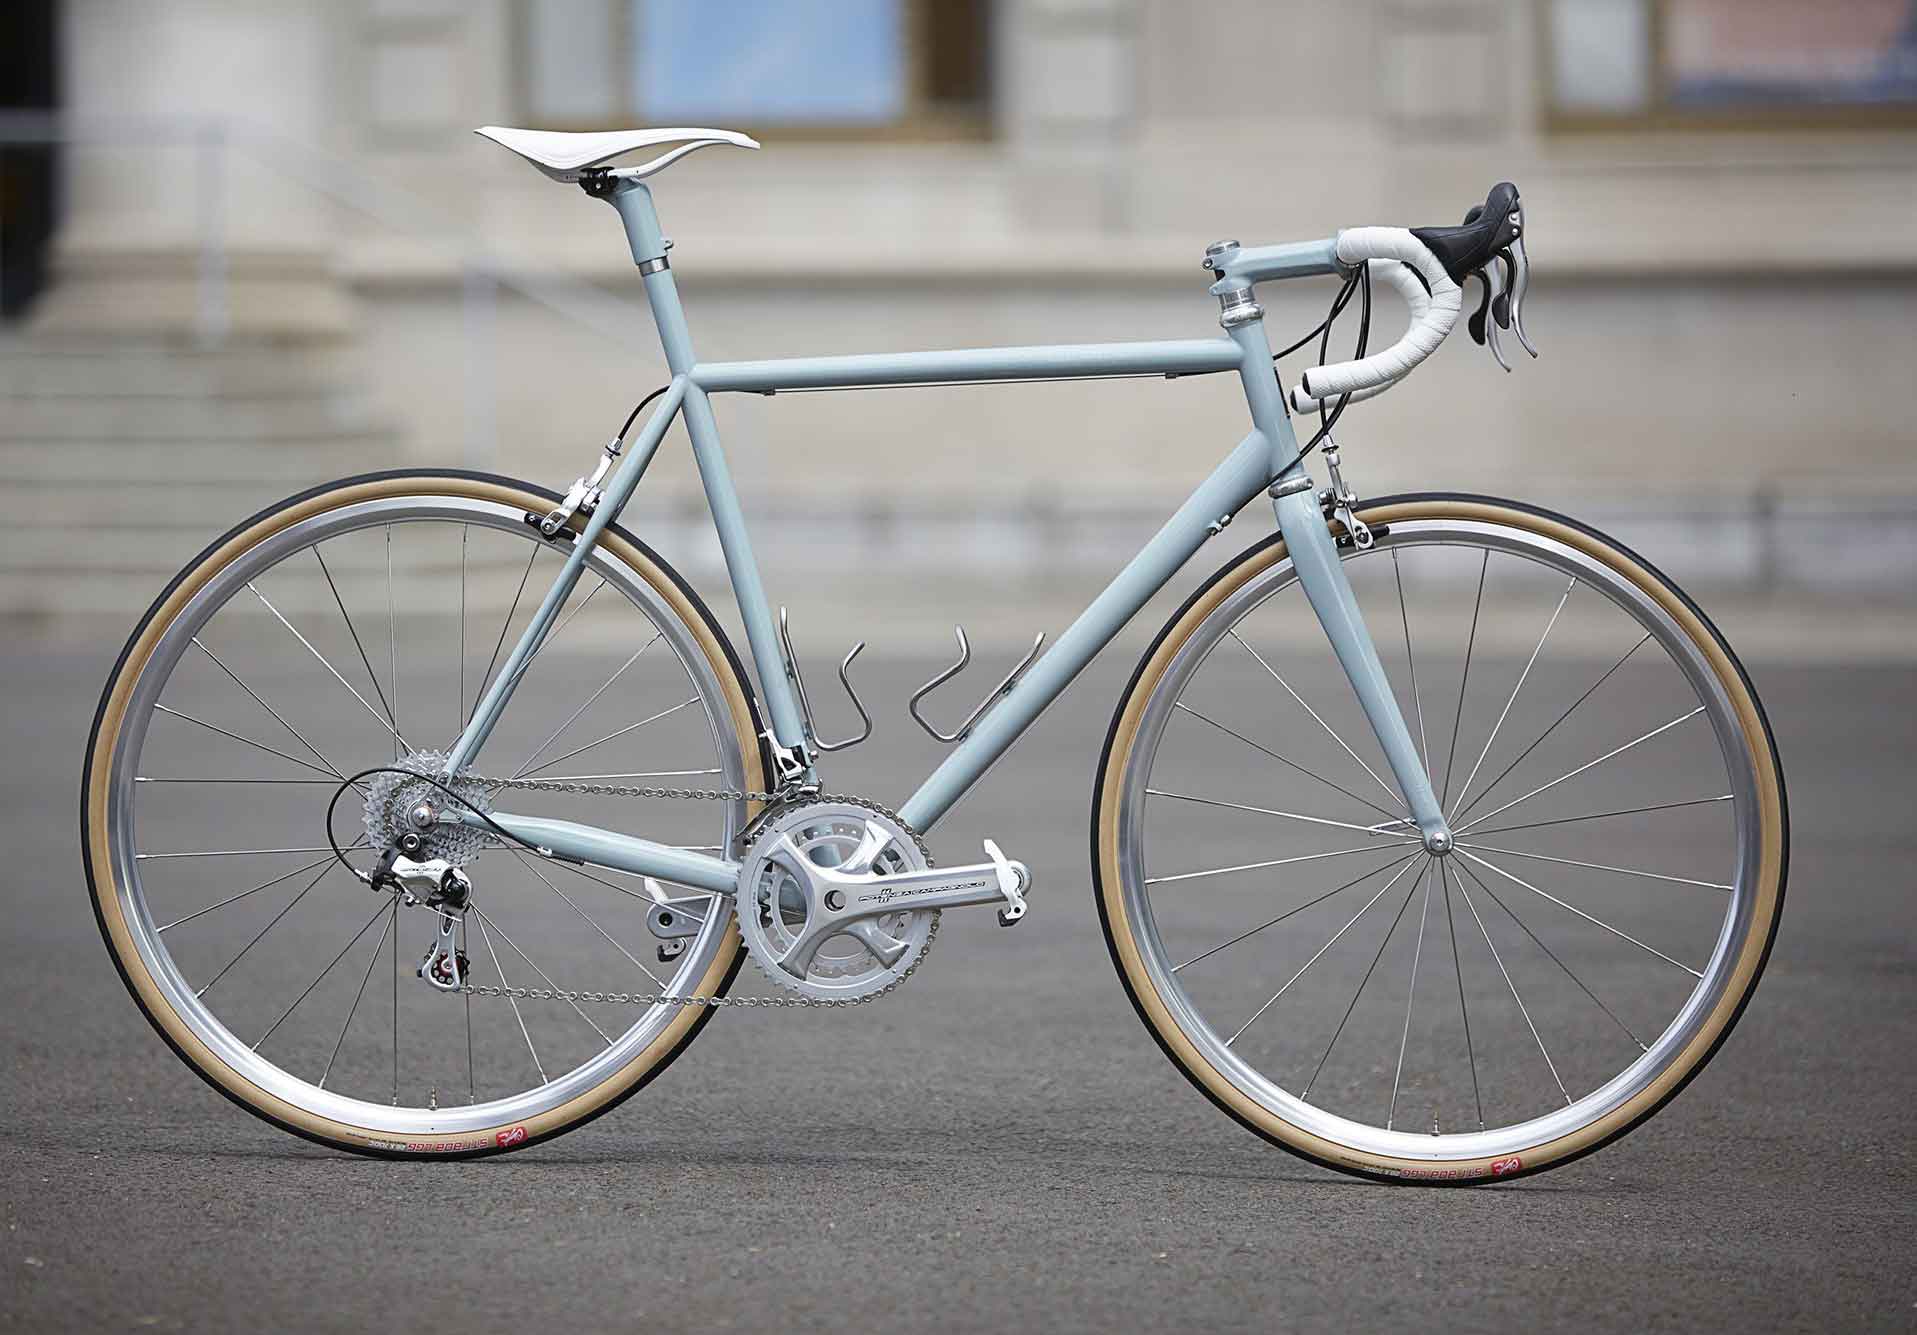
Checklist for buying a used road bike
The time has come, you've decided to buy your first (or second) road bike. After hours of looking around on Marktplaats or Veloscout , you have finally found your dream bike. Of course we welcome this! But of course there are also some things to consider. To check whether the bike is in good condition from head to toe, we have made a checklist for you. This can be used with both aluminum and carbon road bikes.
You can consider this checklist as a handy list where you can calmly check the most crucial parts of the bicycle.
Before we begin, we would like to draw your attention to the following point. If something is too good to be true, it is often too good to be true. Look at the bike in the entire setting. A messy shed, nervous salesman and a vague story, but a beautiful bike? Then you have to critically scratch your head to see if that is all right. An important tip outside the checklist: if you have a feeling that something is not right, listen to it. Even though it's annoying that you went somewhere for nothing and it's sometimes difficult to reject the deal in front of someone. Always remember that an extra viewing costs less effort and money than repairs and all the additional hassle.
This checklist for your second-hand road bike may occasionally contain unfamiliar terms. As everyone knows, Google has answers to all your questions, so look it up!
Check 1 – Play in the headset and fork
Check that the headset has no play. You do this by firmly pressing the front brake and placing one hand on the front fork. Now move the bike back and forth. If you feel that there is movement between the frame and the headset or fork, this may be a sign that it is worn.
Check 2 – Play wheels
Check whether the wheel can move back and forth. Front wheel: Grab the front fork and the rim. Now push the wheel away from you and the front fork towards you. Rear wheel: same procedure. If you feel slack, this is not a good sign. As a result, the hubs wear out faster and are expensive to replace.
Check 3 – Bottom bracket/crankset play
This check is very important because damage caused by a crankset with play is almost impossible to repair. The bottom bracket or crankset (is the same) is the part that your pedals are attached to and the large chainrings. This part goes through your frame (connoisseurs will say here that it is the bottom bracket, but we try to keep it simple). It is important that you check carefully that there is no slack. If a bottom bracket can move, it will wear away the inside of the frame. And this is almost impossible to replace or only at a high cost. How do you check if there is play on the bottom bracket? Firmly grab the frame and a crank arm and push the bike away from you and the arm towards you. Repeat this a few times to make sure there is no slack. Is there play? Then it is advisable to unfortunately look further.
Check 4 - Check brakes
Pretty self-explanatory but of course not unimportant. Check whether the bicycle brakes properly and smoothly. With rim brakes you can see the black brake pads. Check whether they still have enough 'profile'. If you no longer see grooves in the blocks, you must replace them. It works slightly differently for disc brakes: check whether there is at least 2 mm of brake lining on the pads and whether they are evenly worn. If this is not the case, one of the pistons is not working properly (the part that pushes the brake pad). You should also hear no sound within 1 second after releasing the brake, otherwise the pistons will not work properly.
Check 5 – Check inner and outer cables
Take a look at the ends of the cables, if they are rusty or frayed, this is not a good sign. The cables must be in good condition as rusty and worn cables make shifting difficult. Incidentally, cables are not a deal breaker, because they are cheap to replace.
Check 6 – Check chain and sprockets
There is a special tool to check chain wear, but most people don't have it at home. So take a good look at the chain, is the chain clean (silver-coloured) or very dirty (black), is there rust on it? A dirty chain will probably be a bit older and more worn. Also pay close attention to the gears. Check for burrs and that the gears are not excessively worn.
Worn gears

Not worn gears

Check 7 – Check rim and hubs
Are there any dents or cracks in the rim? What does the rim look like in general? Are all spokes still in place and is there a twist in the wheel? These are things to check.
Check 8 – Tires
Check whether there is still enough tread on the tyres. Also check that the tires have not dried out. You can recognize this by cracks in the rubber. Dried out tires have the chance that they will tear while driving, something you obviously don't want.
Check 9 – Theft check
An app has been developed by the police that allows you to check stolen frame numbers. This app is called: bicycle theft. Check your bike so that you are not faced with surprises afterwards.
Summary checklist for a second-hand road bike
These were the most important parts to check when buying your second-hand road bike. Read this list carefully before you go somewhere so that you can check properly and specifically. Not all bikes will make it through this checklist, and that's okay. Tires and cables, for example, are easy to replace, but that costs money. You can use this during negotiations, for example. Problems with a crankset or rims are indicators that an expensive repair is coming. In such cases, you might want to take a closer look. We wish you a lot of success in choosing the dream bike! Is something missing from this list or do you have a question regarding this piece? Then do not hesitate to contact us.
Bonus tip – Good cycling clothing
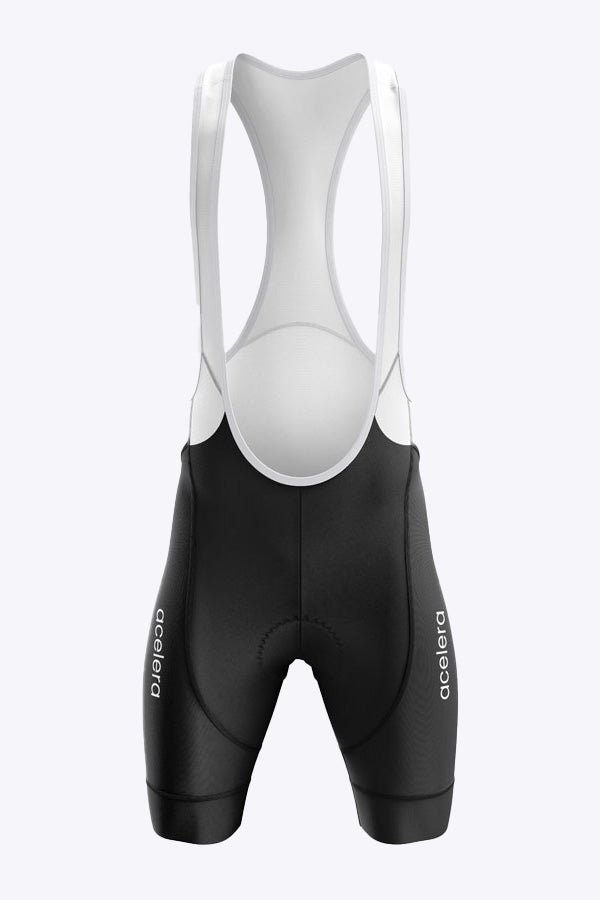
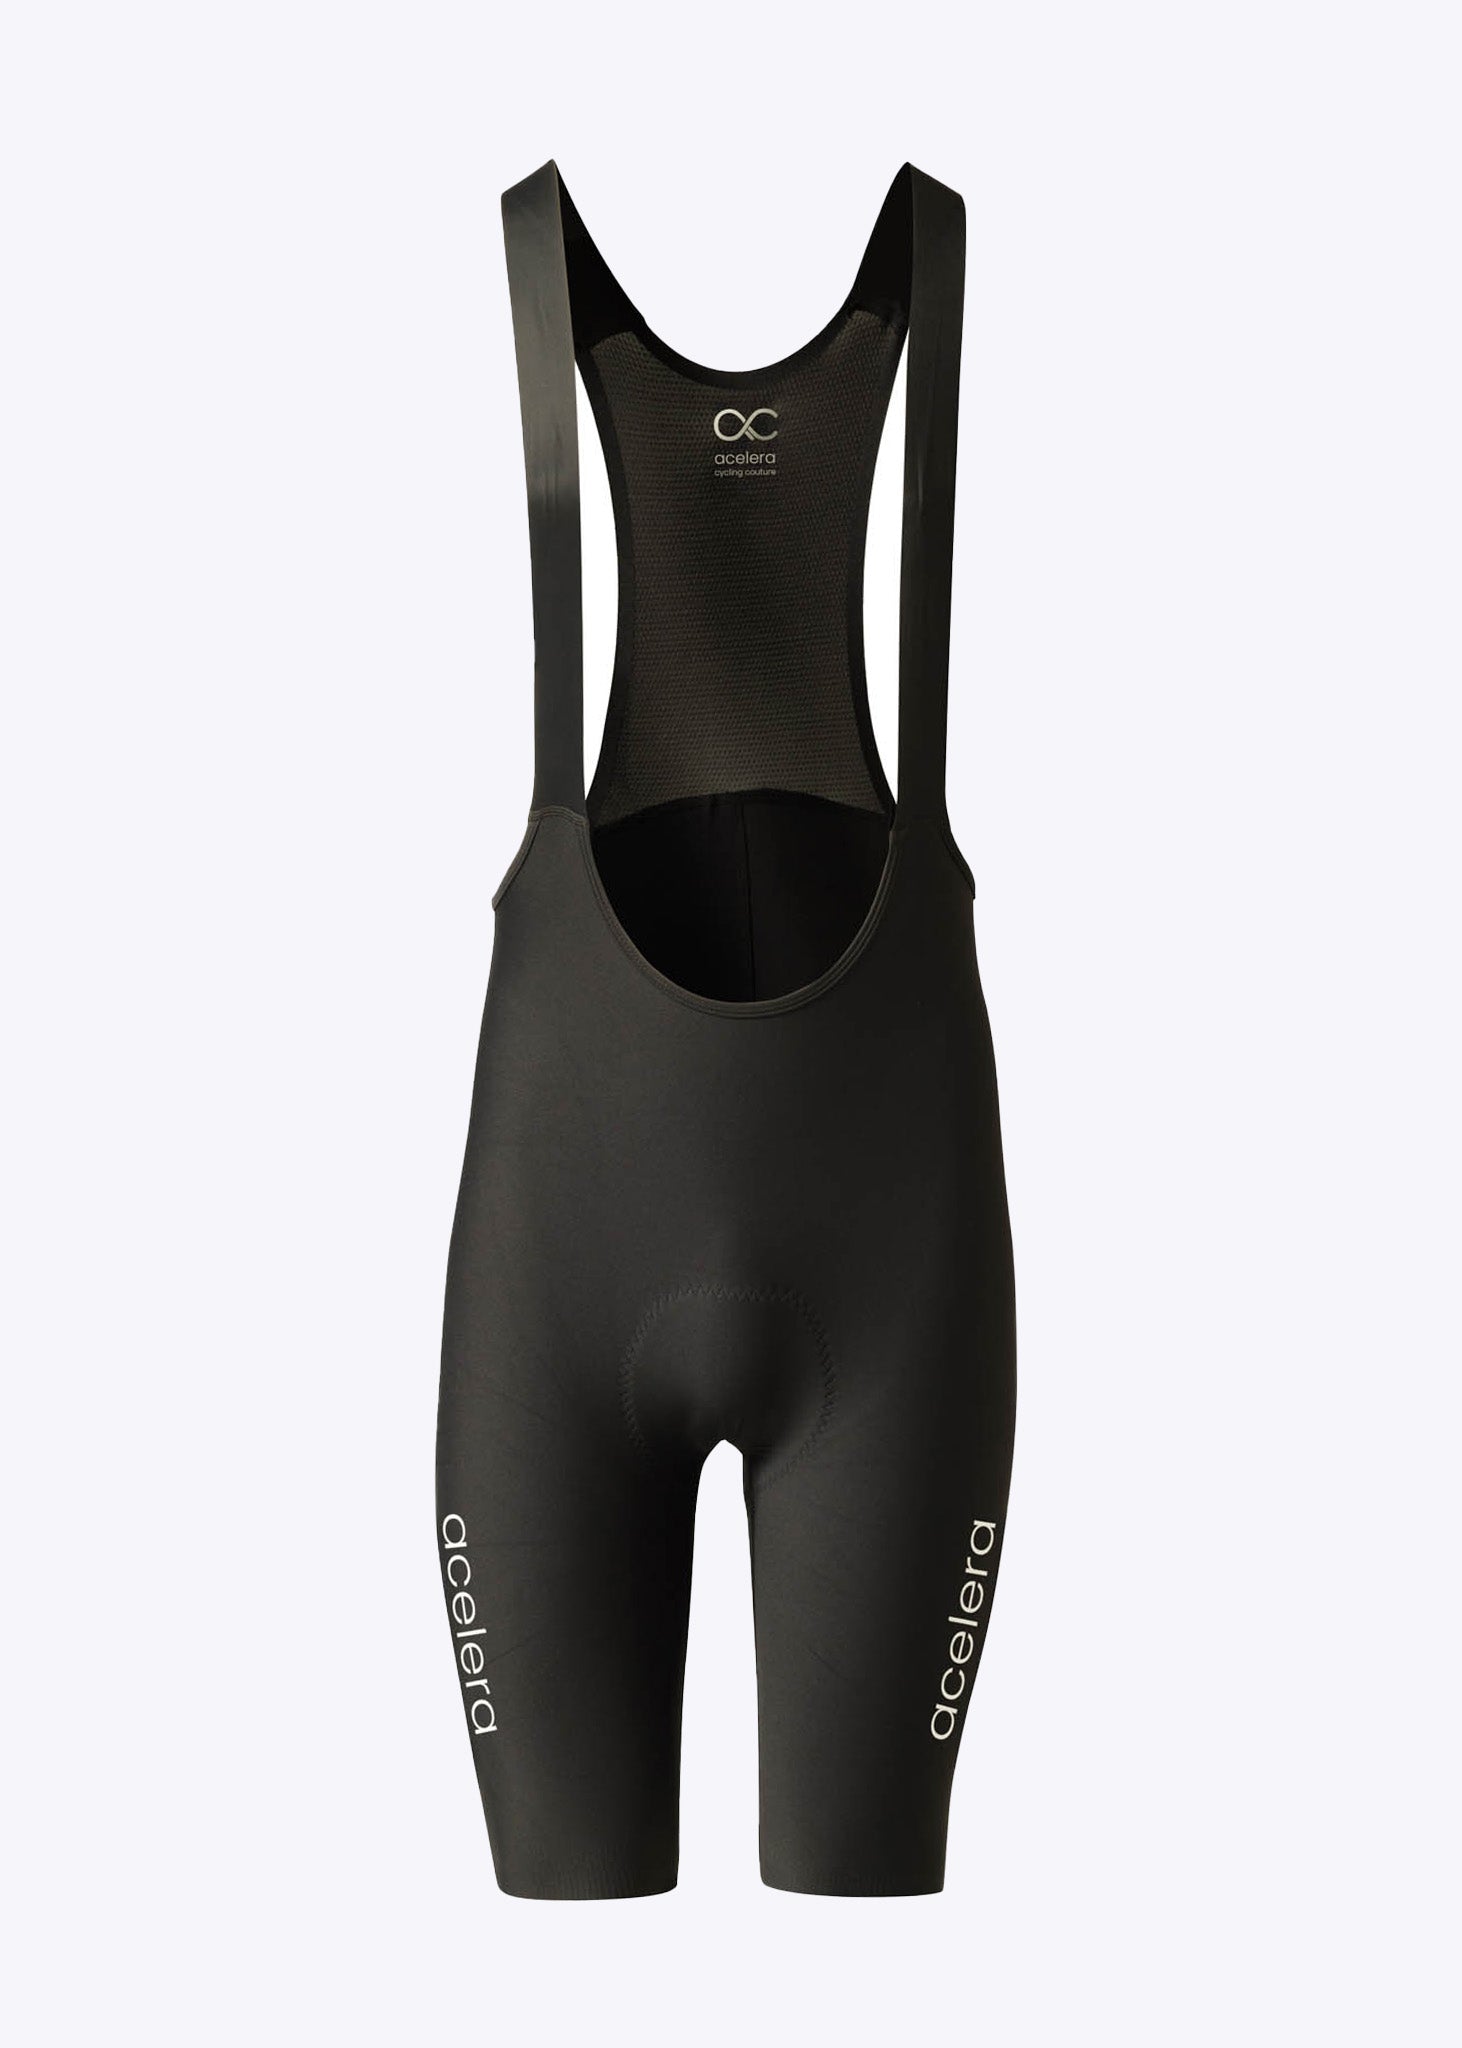
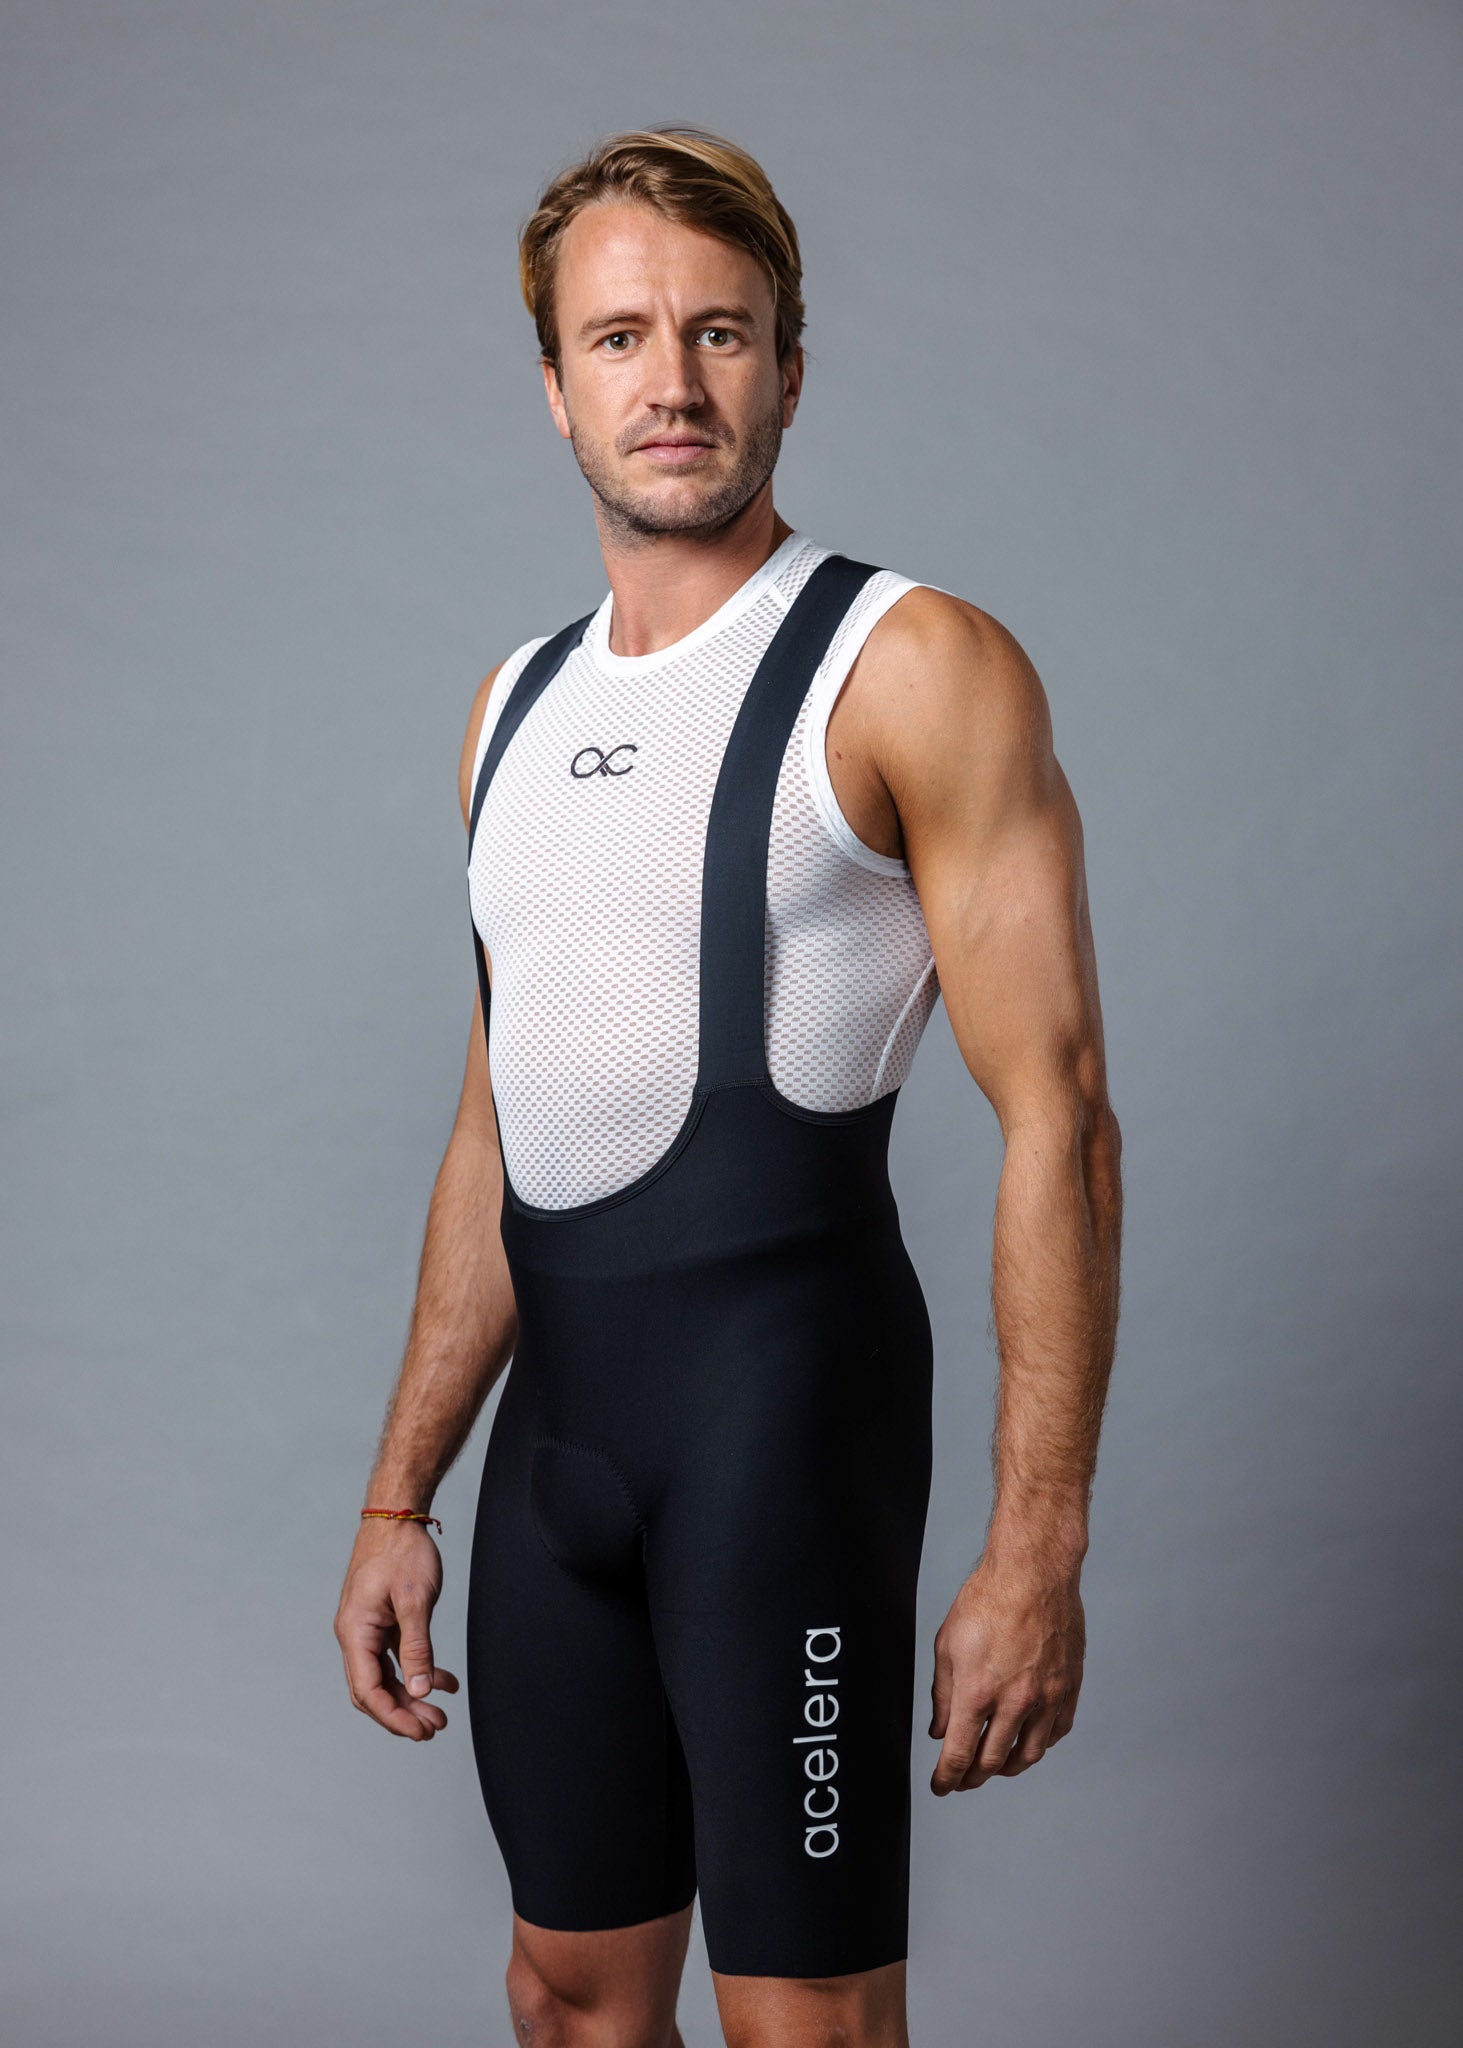
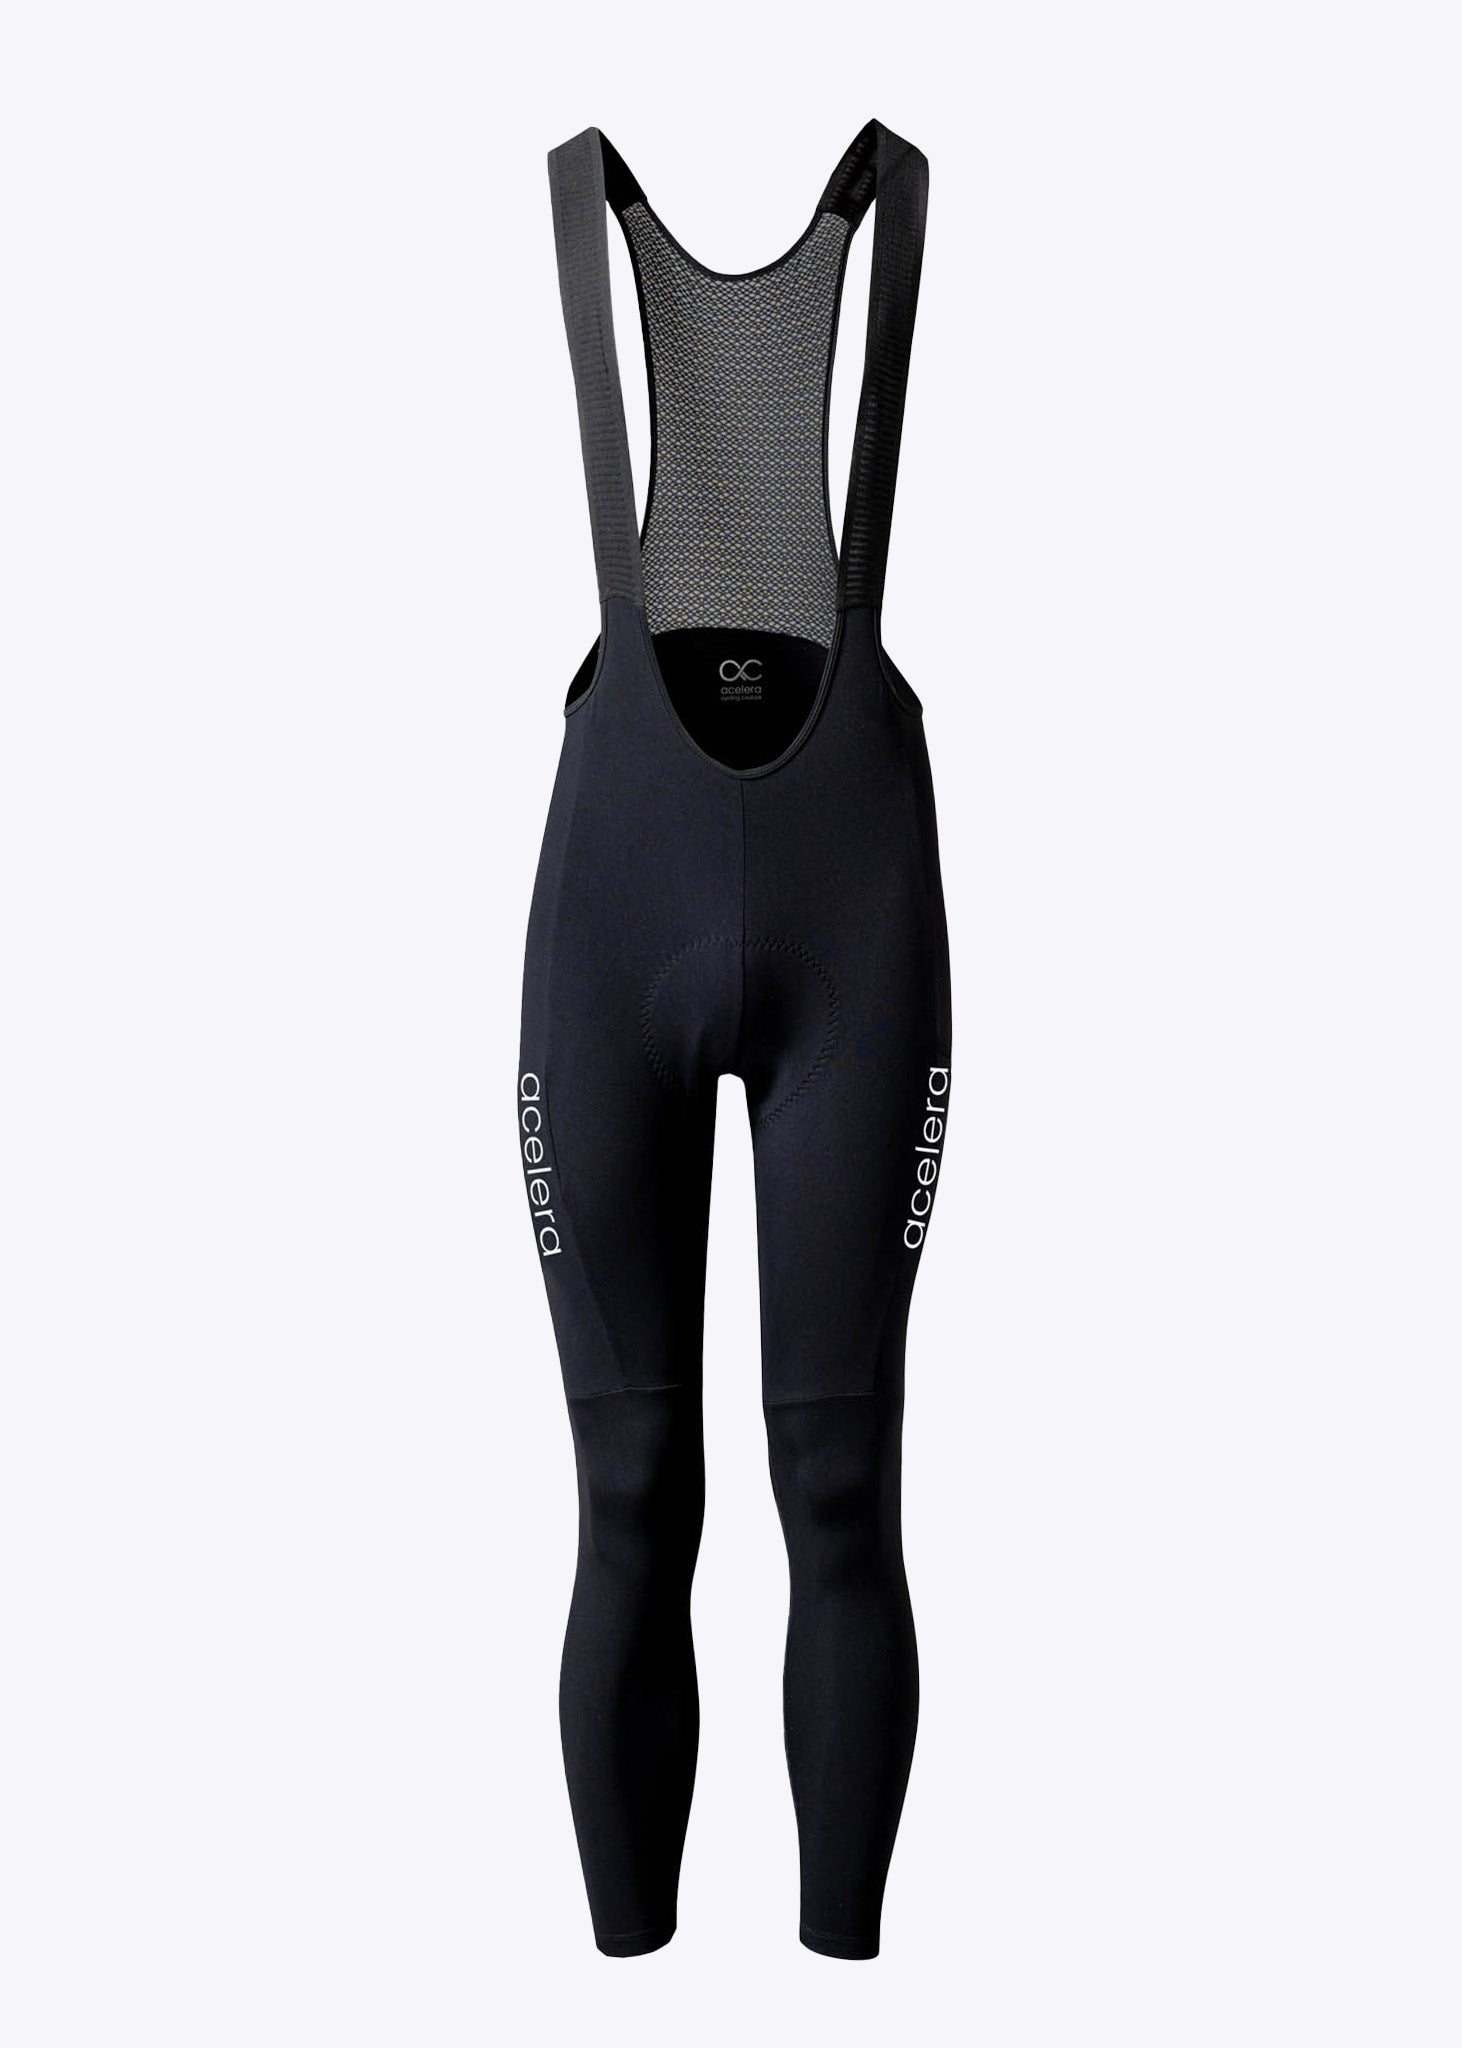
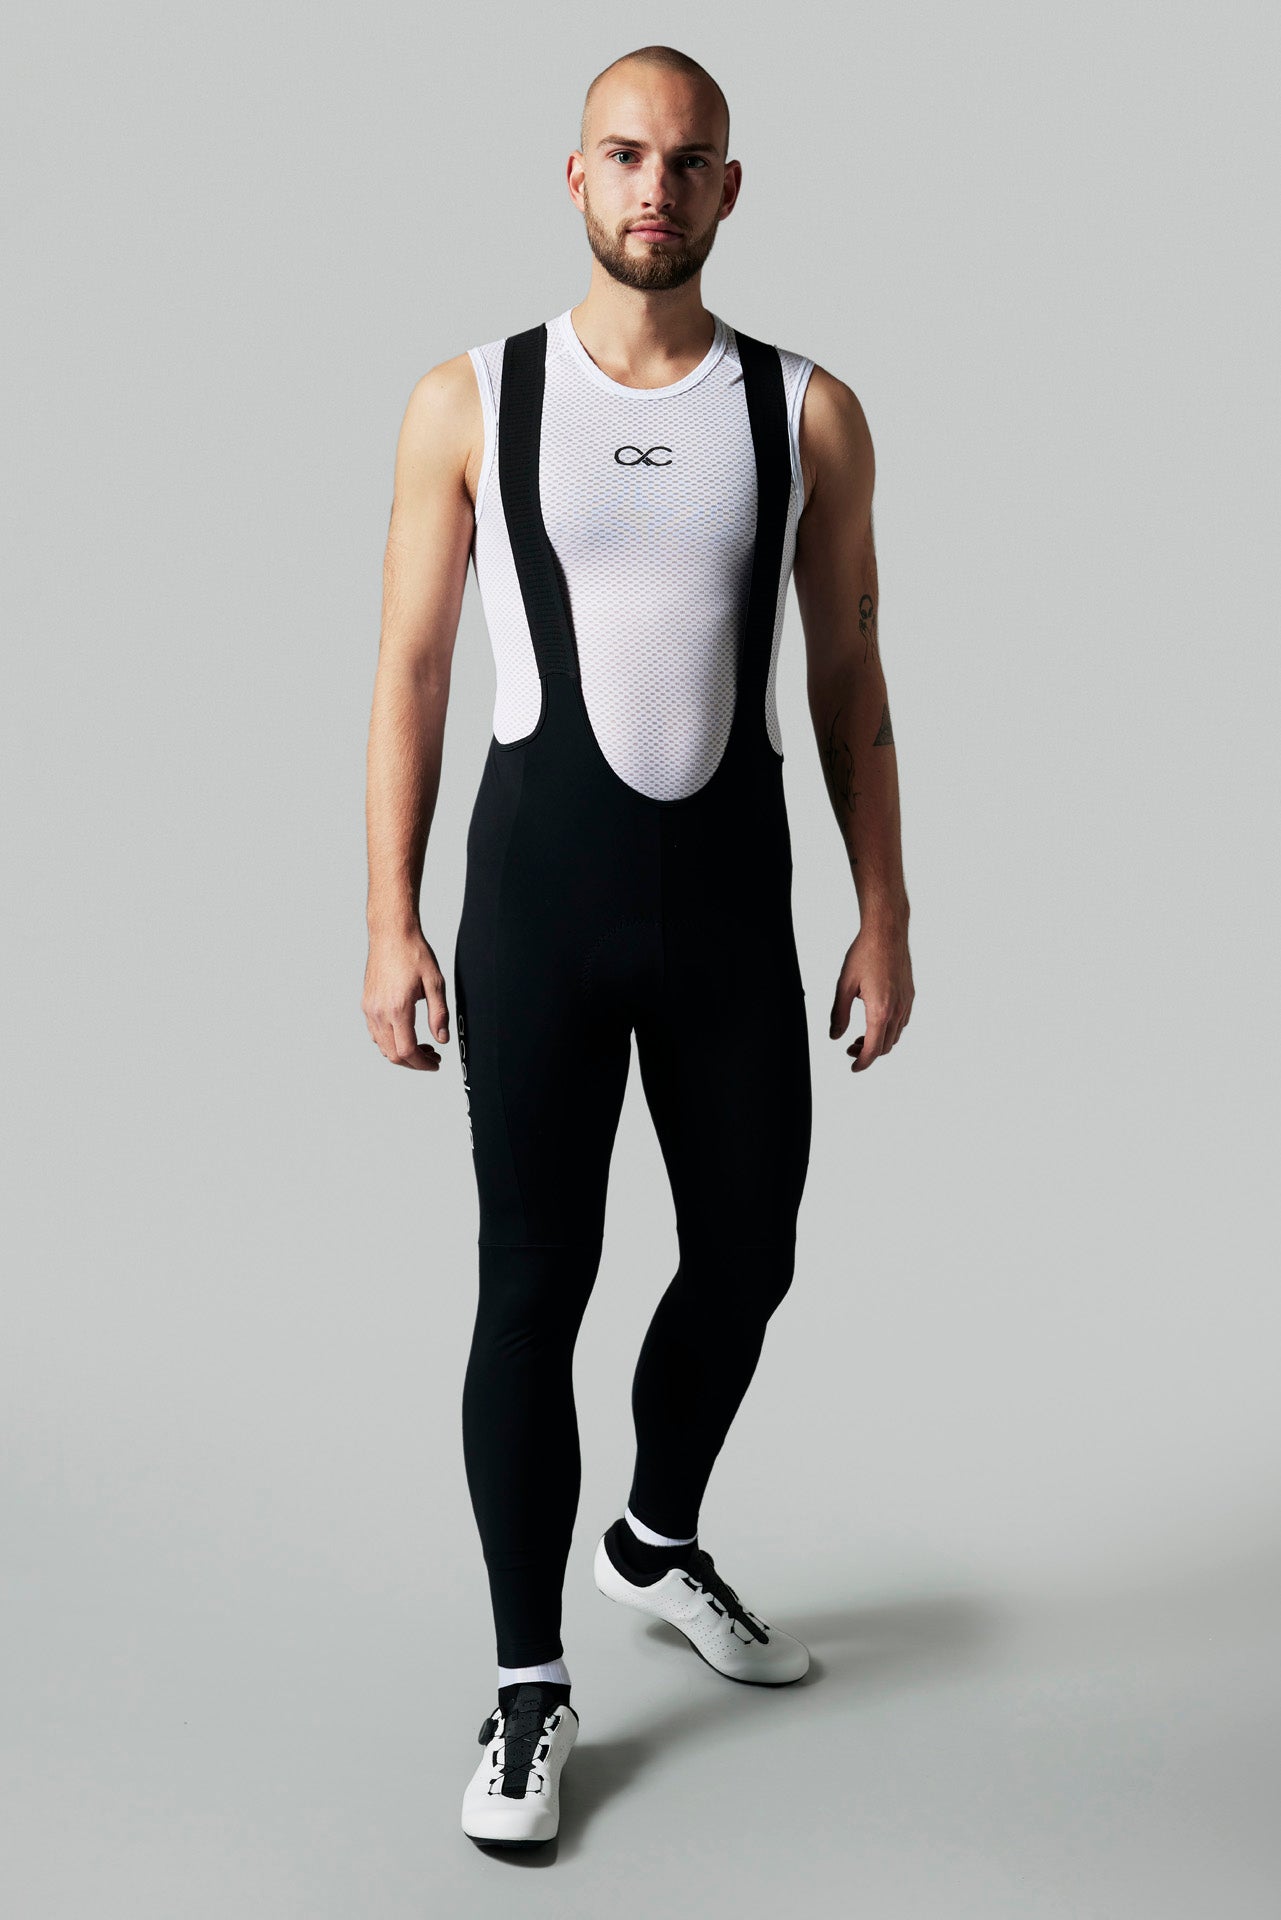
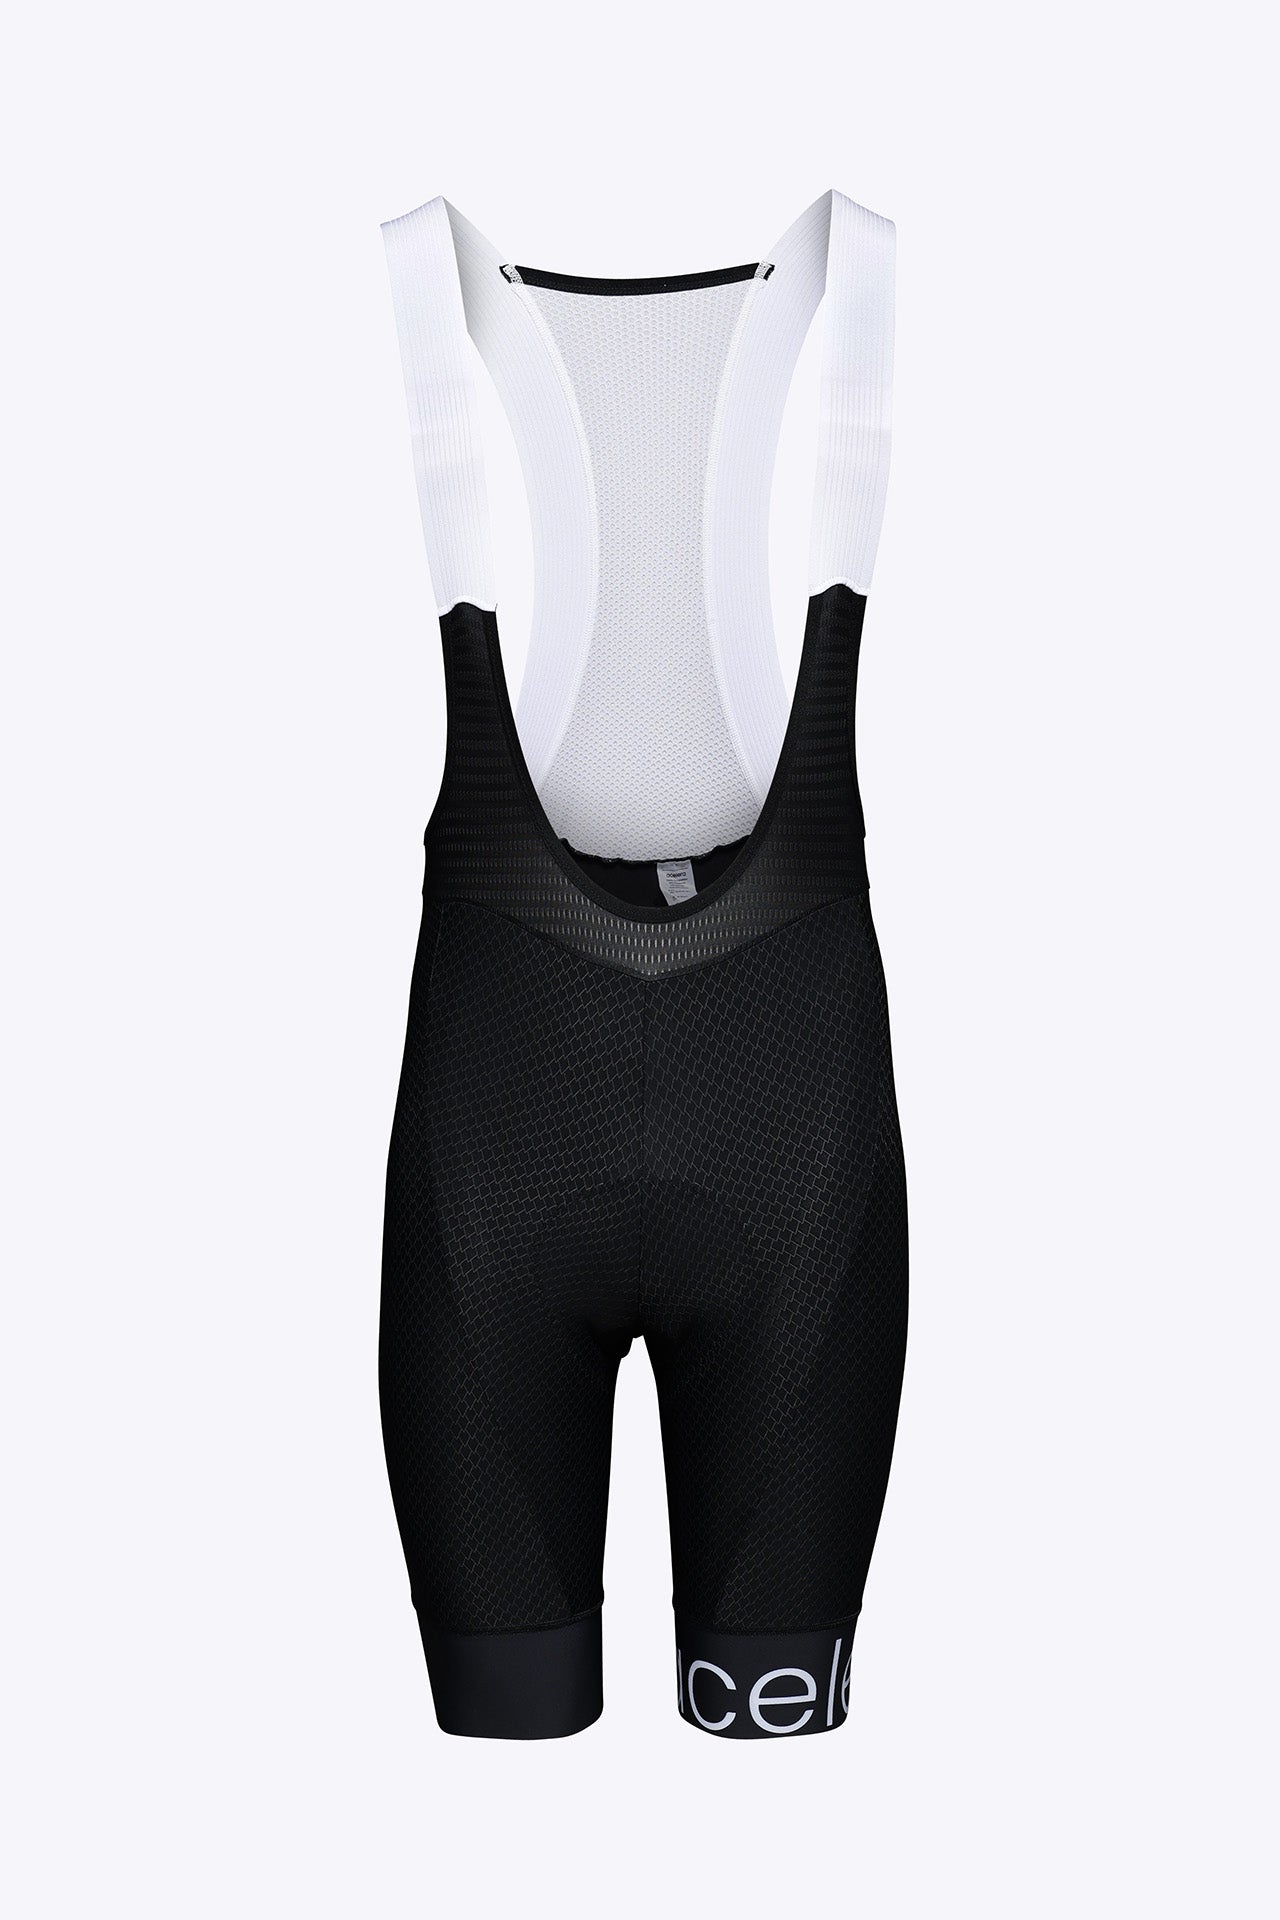
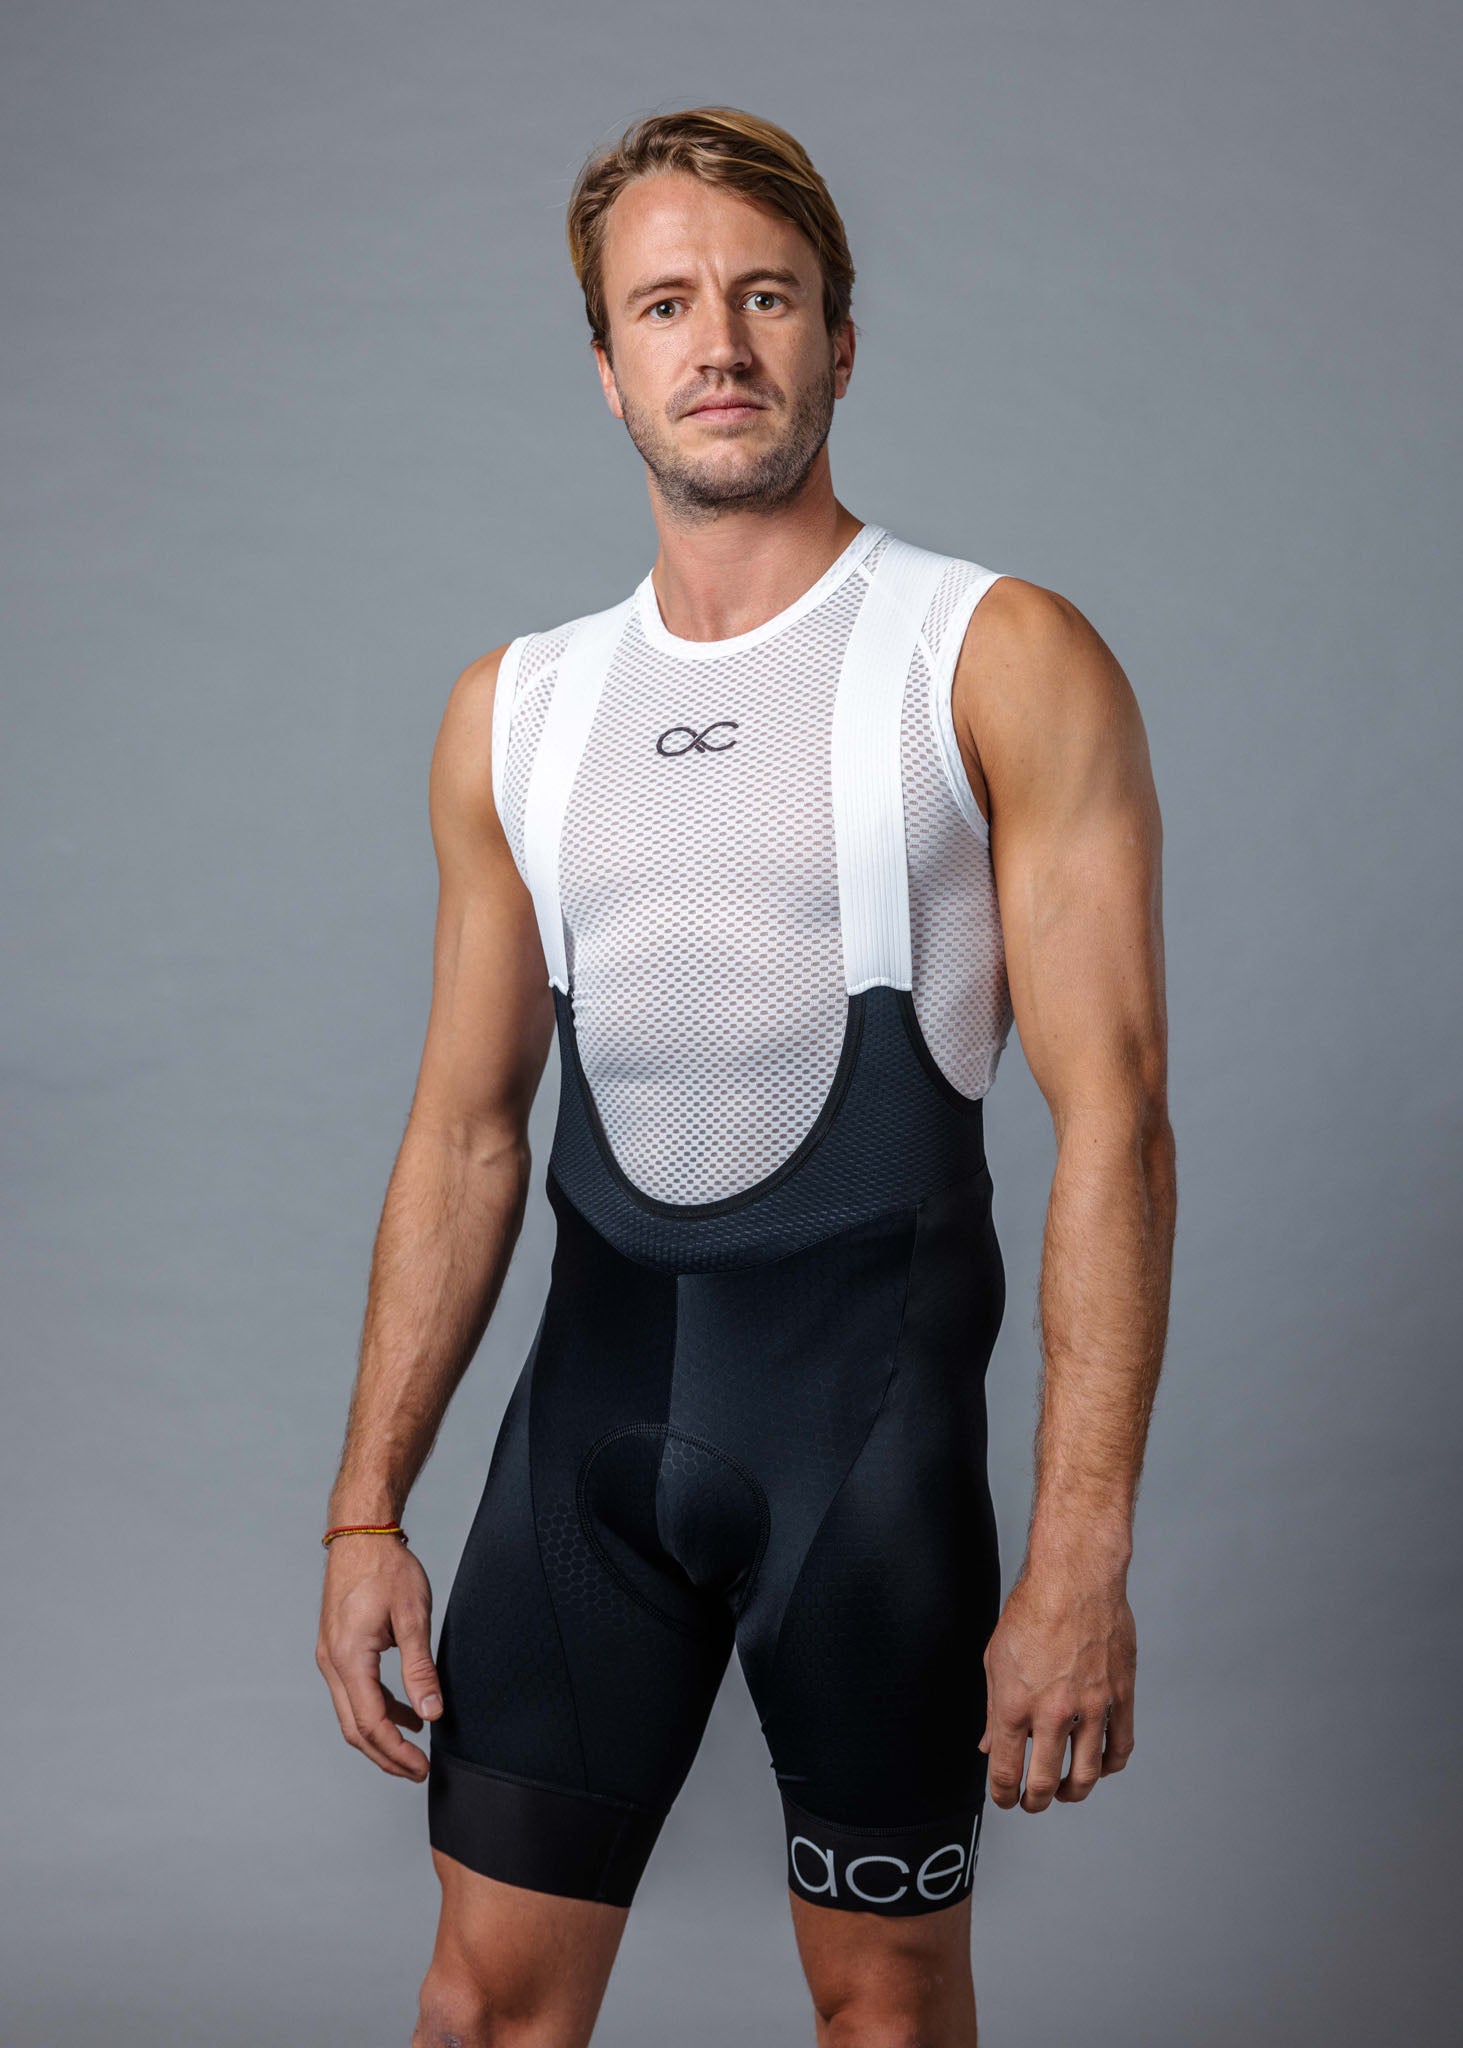
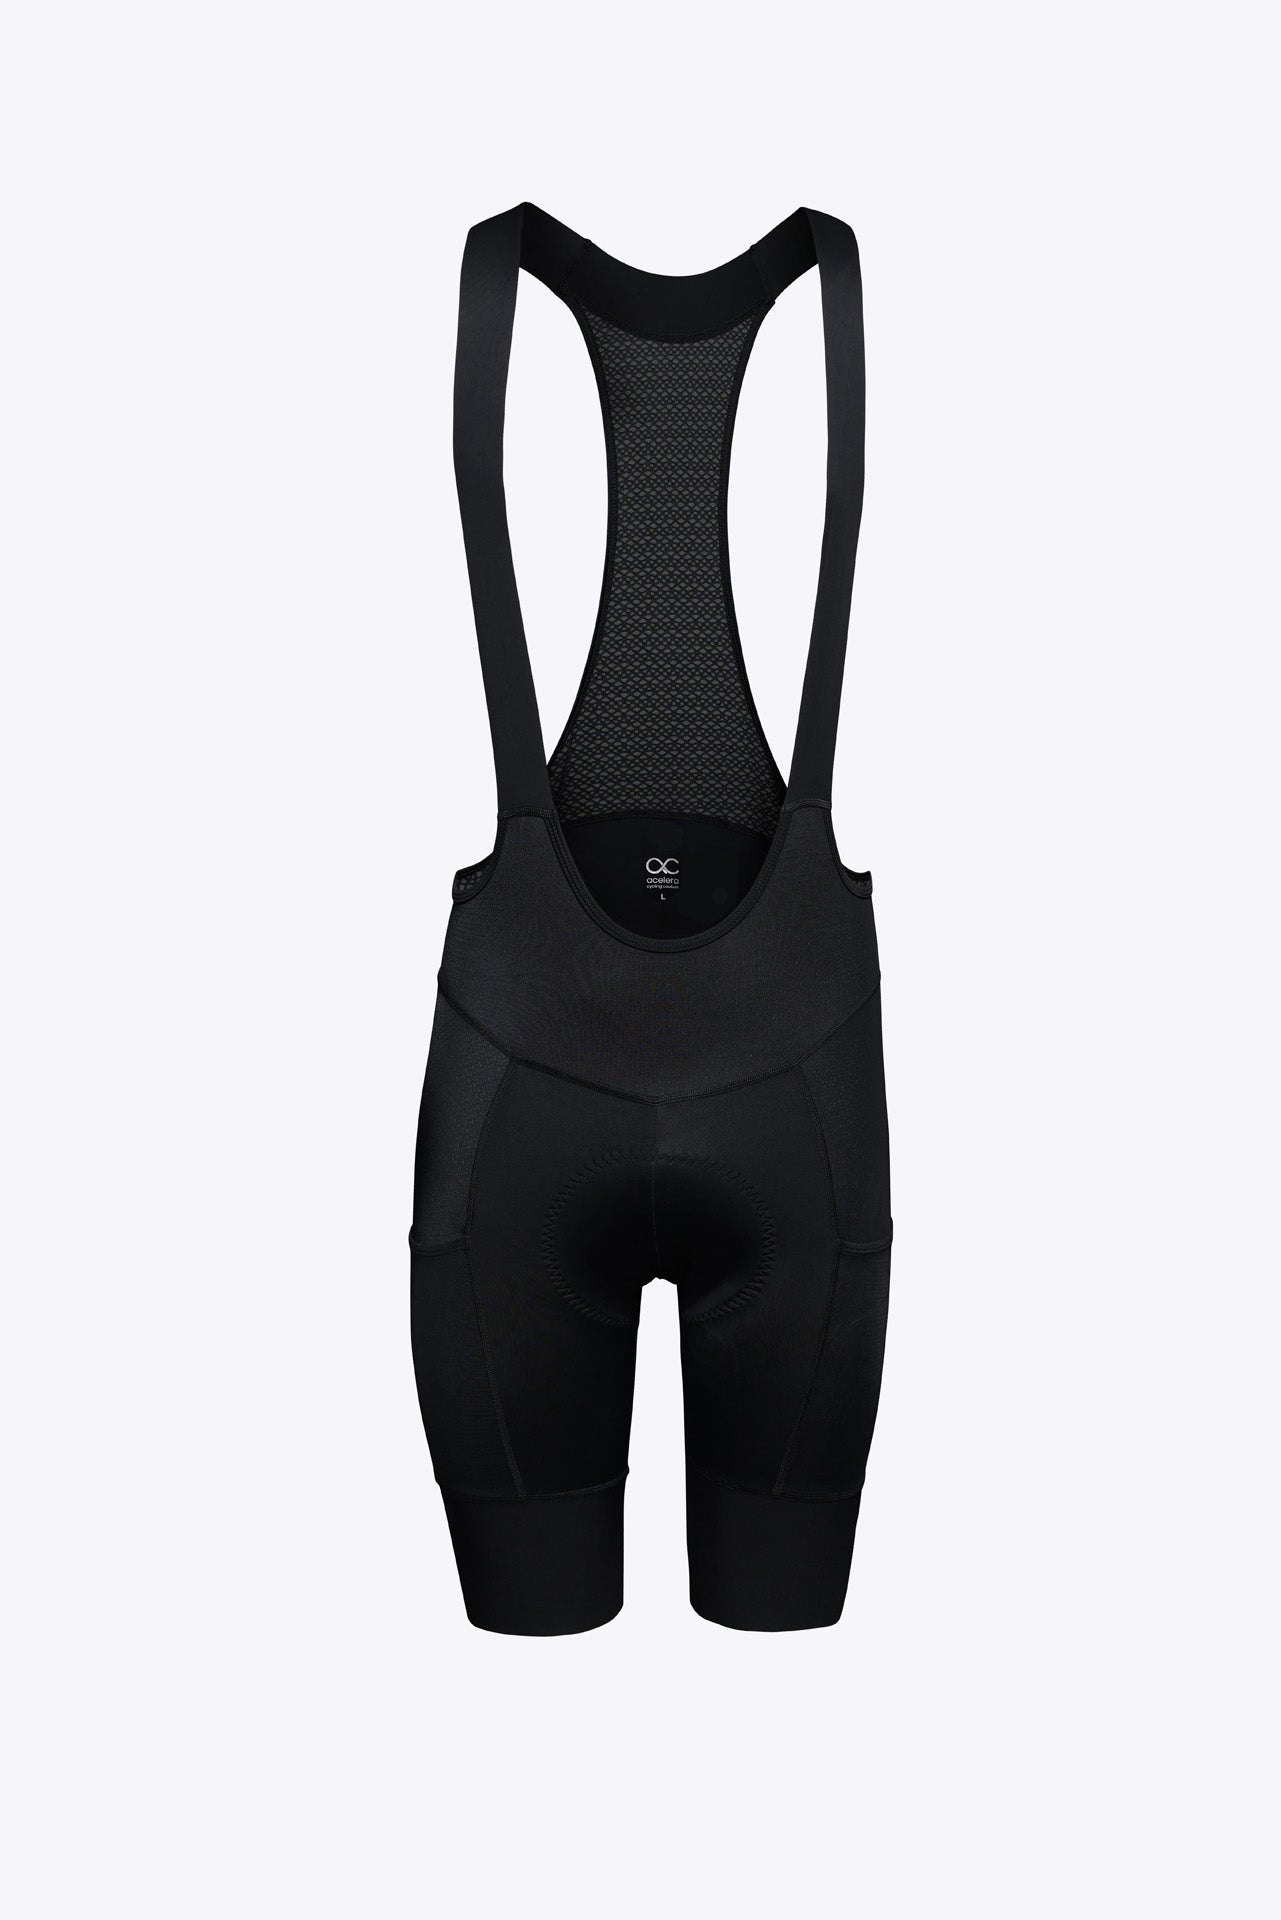
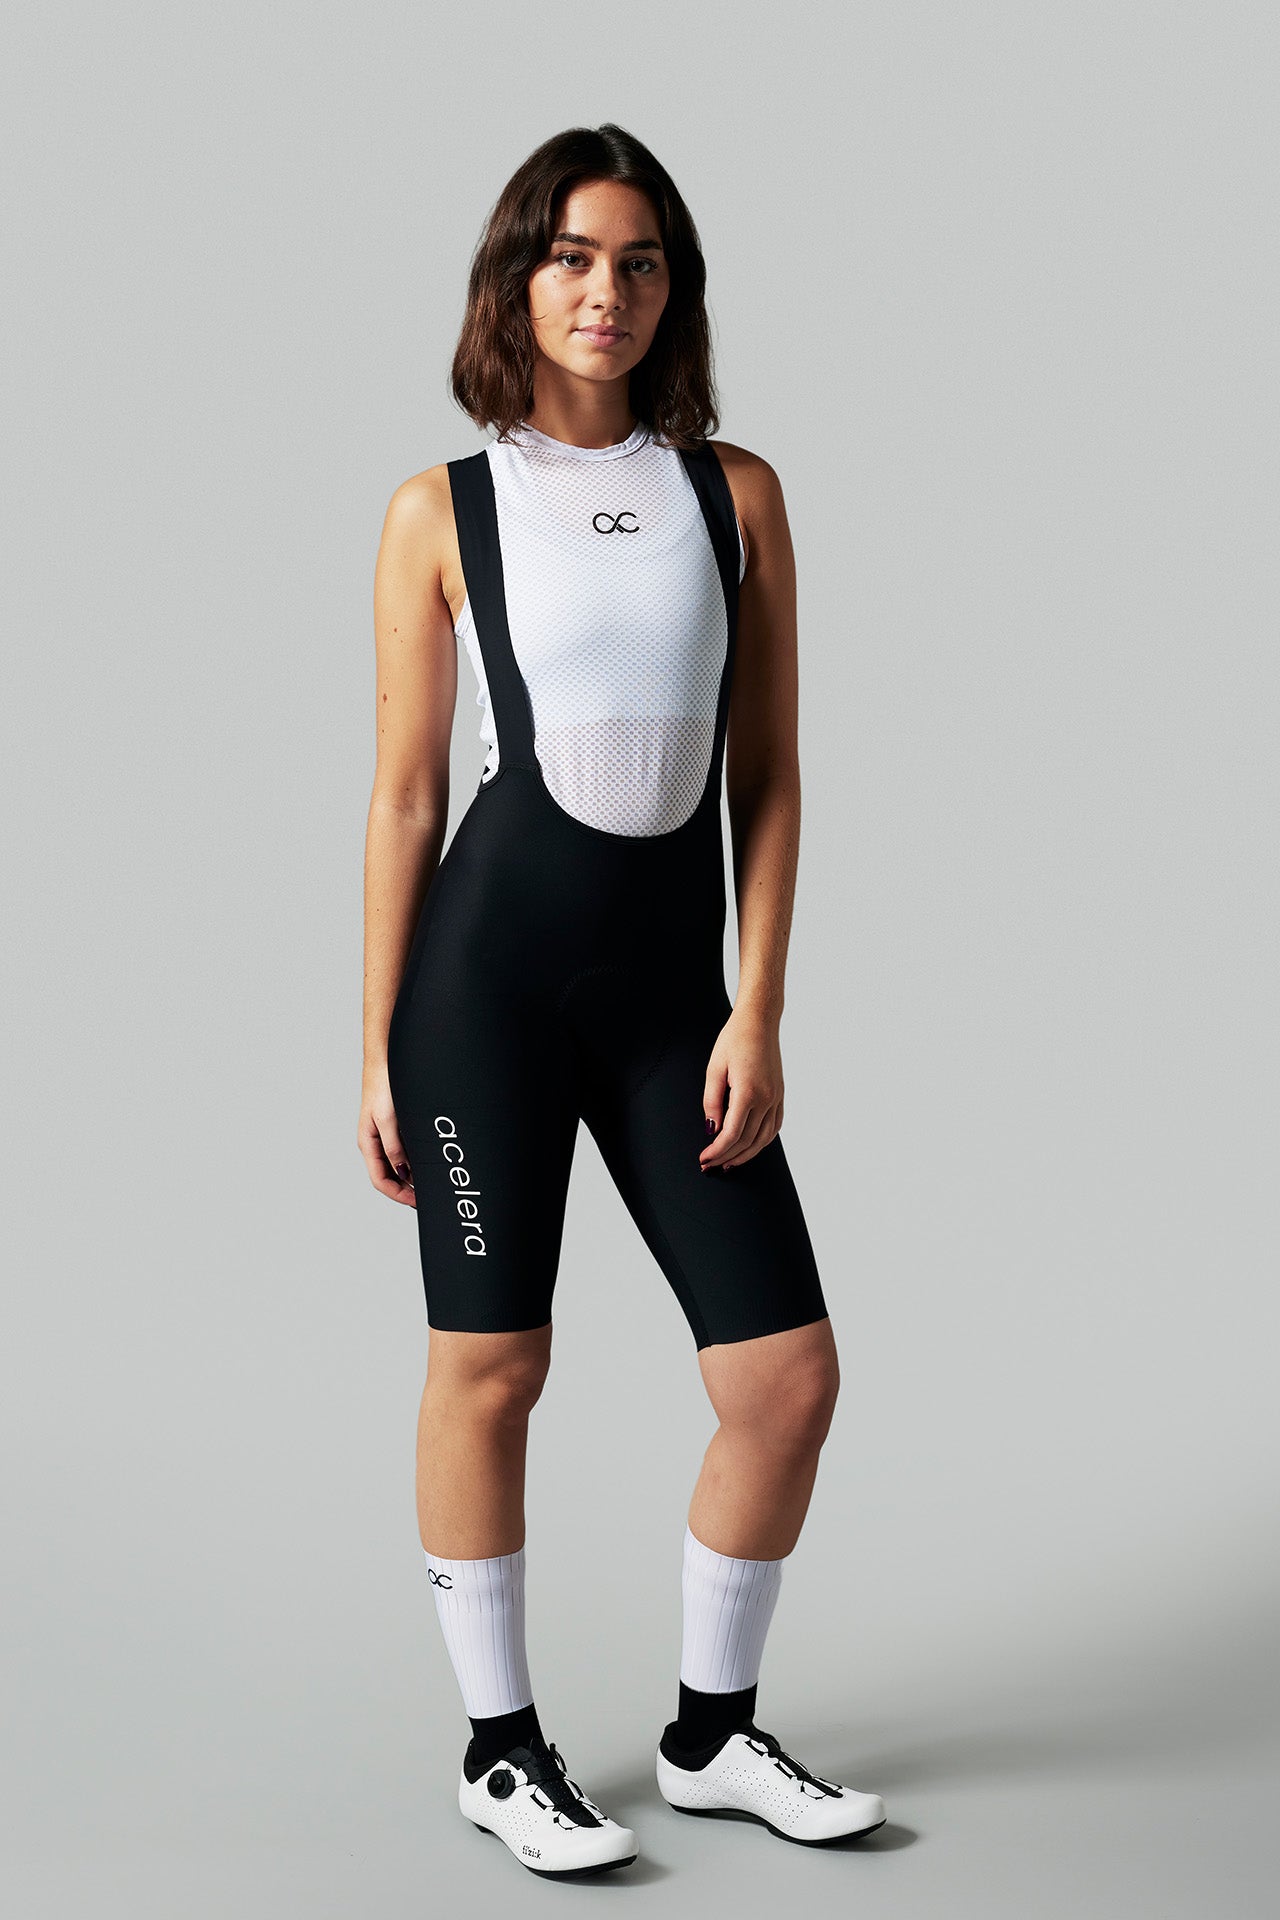
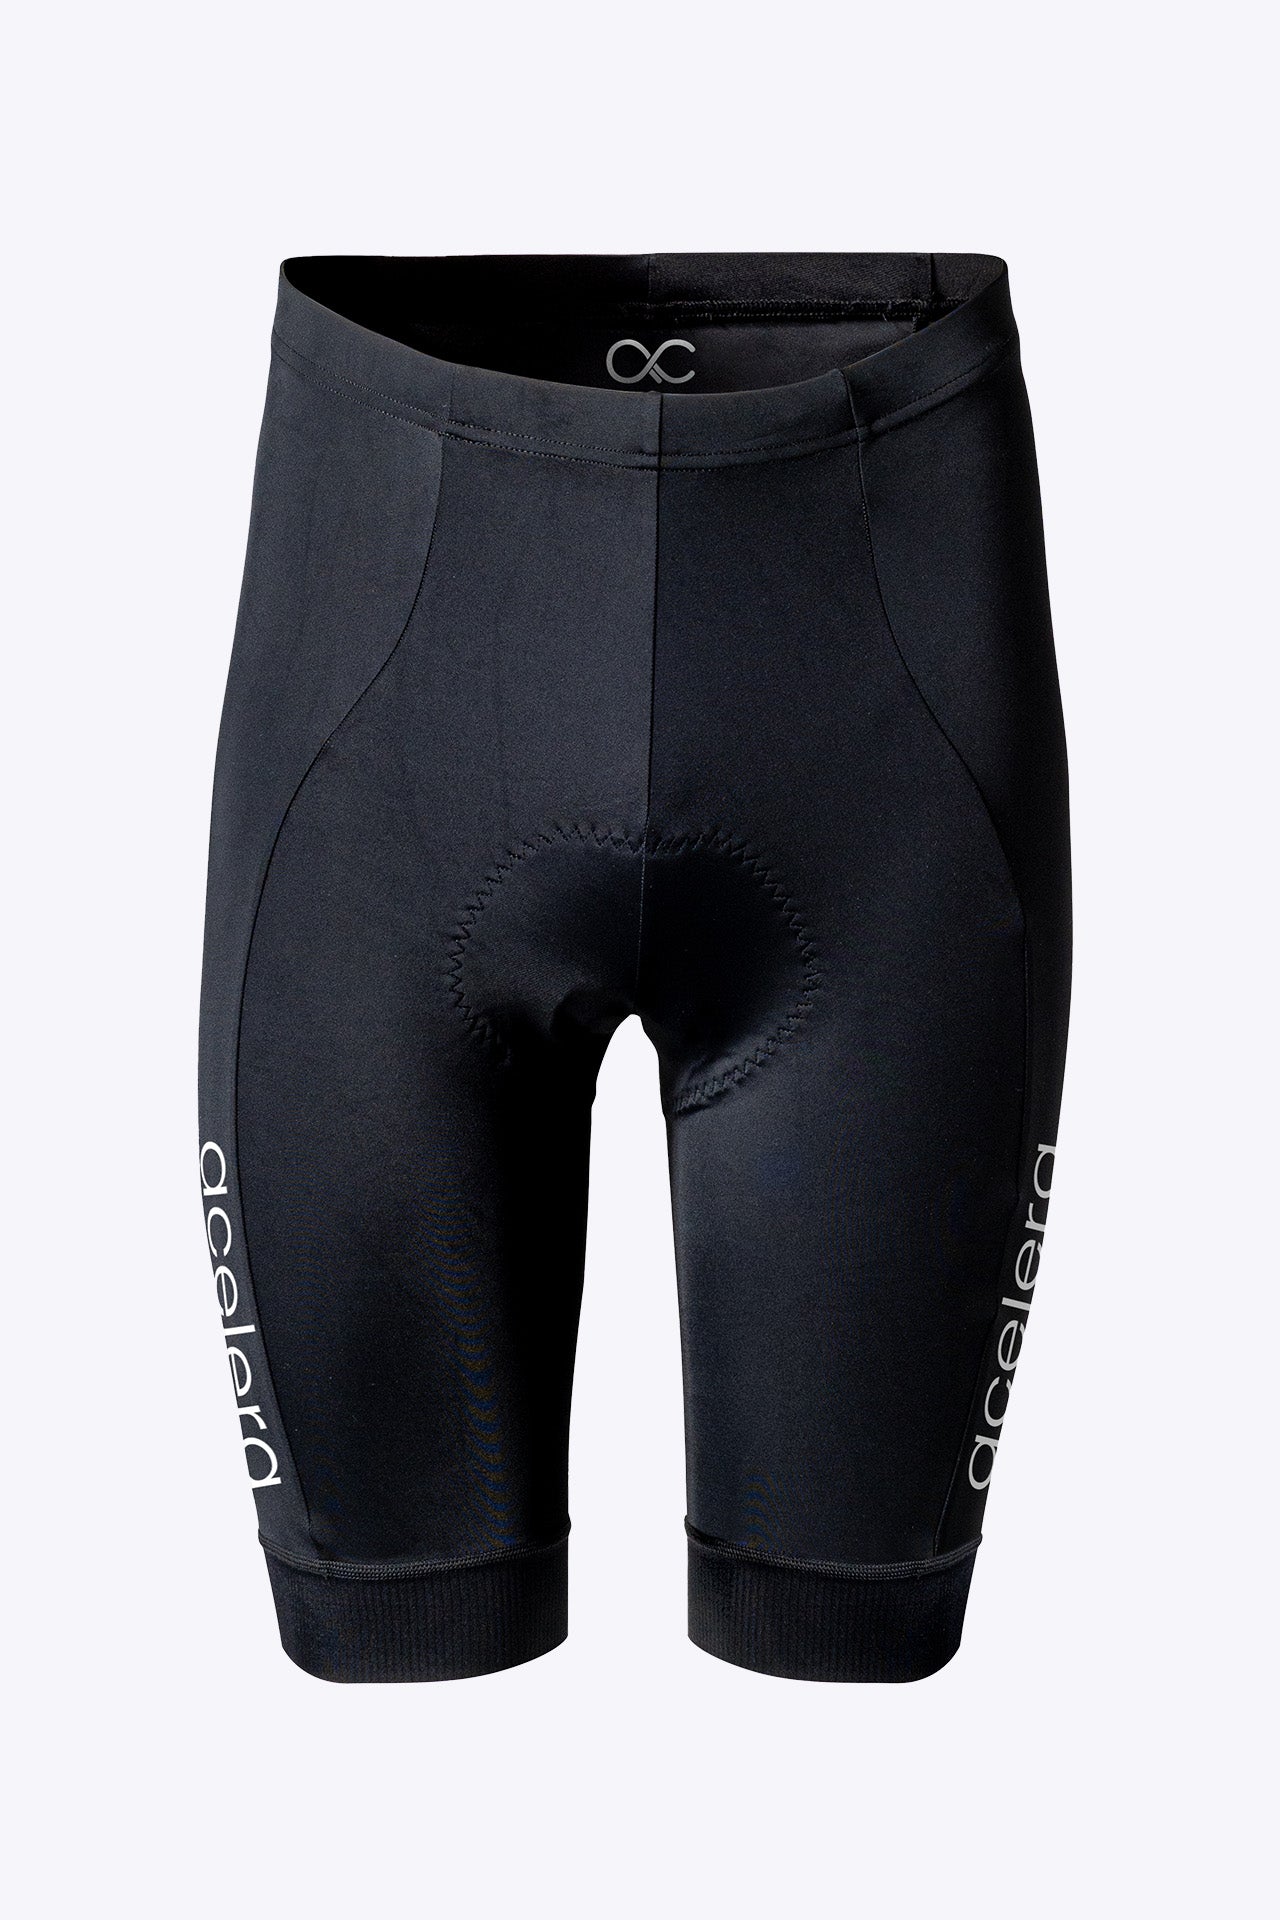
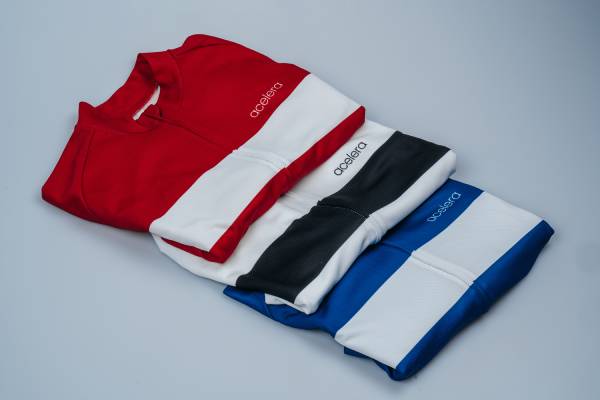
A beautiful bicycle naturally also includes a stylish and good cycling outfit. So read our blog in which we explain what good cycling clothing should meet. Or take a look at our webshop right away so that you can hit the road without any worries!



Leave a comment
This site is protected by hCaptcha and the hCaptcha Privacy Policy and Terms of Service apply.